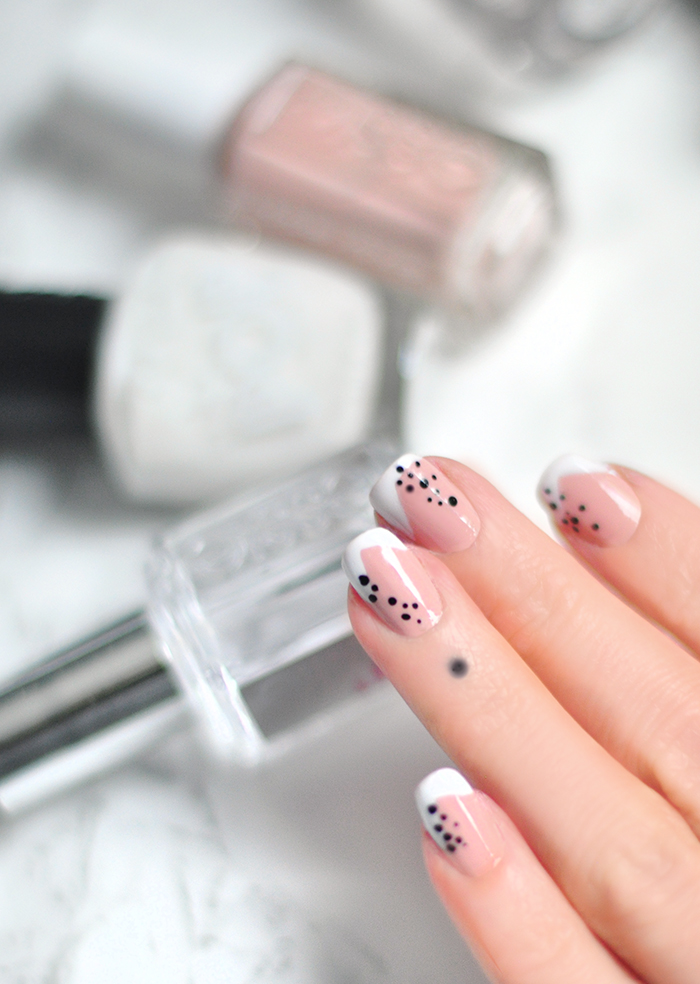
My nails have grown SO LONG during this quarantine and it’s kind of amazing! I mean, okay, they’re not THAT LONG comparatively speaking, but for MY little nails, this is something! Usually by the time they get this long they start breaking but I’ve been lucky so far, so I decided now was as good a time as ever for a little nail art!
At the beginning of the quarantine I did a fun multi-colored retro style manicure with the new Essie Expressie collection, which I really loved, but before then, it had been forever since I’d even painted my nails! Working at Dogwood kind of kills them and a manicure only lasts a day or so before it starts chipping, so it’s mostly pointless to take the time to do them… but now I have all the time in the world  #quarantinelifesilverlining
Anyway…
While browsing Pinterest the other day I spotted a few manicures that caught my eye… (this one and this one and this one and this one – photos below) all turned into the one I created. Don’t you just love how inspiration works?
Inspiration…
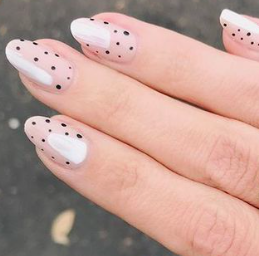
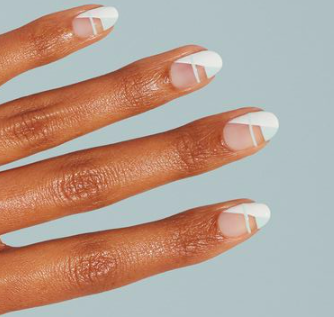
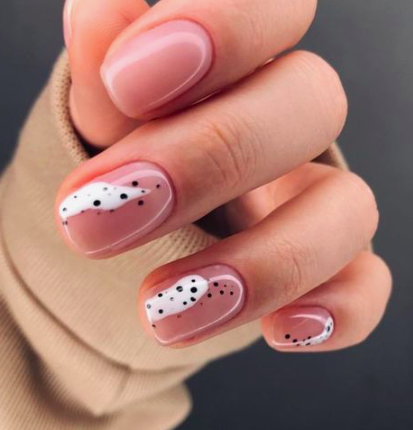
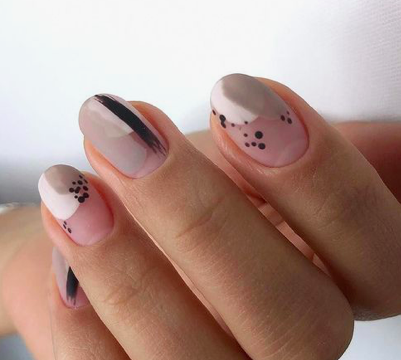
Is it just me or have you guys been noticing the old school, traditional French tips making a little comeback lately?
I know it’s a bit of a debatable look because in theory, it’s timeless, and if done in a subtle fashion, it still looks crisp and clean and chic, yet somewhere in the mid-to-late nineties, or maybe even the early ’00s, the French tip went from classy to trashy overnight. Maybe it’s just me, but it’s not a look I was expecting to become trendy again, though here we are.
Here’s What I Used…
I really like the neutral color scheme here, with the pinkish flesh tone (not as transparent as a French tip manicure makes it feel more modern and graphic to me), with white and black. I’ve done a few other nail art manicures in a similar color palette, which you’ll find at the end of this post, if you’re interested. There’s something subtle about the pink and white that I love with the black that makes it pop!
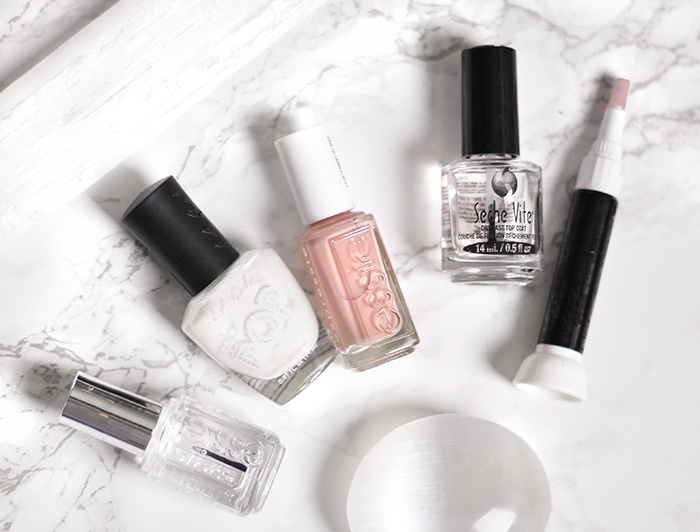
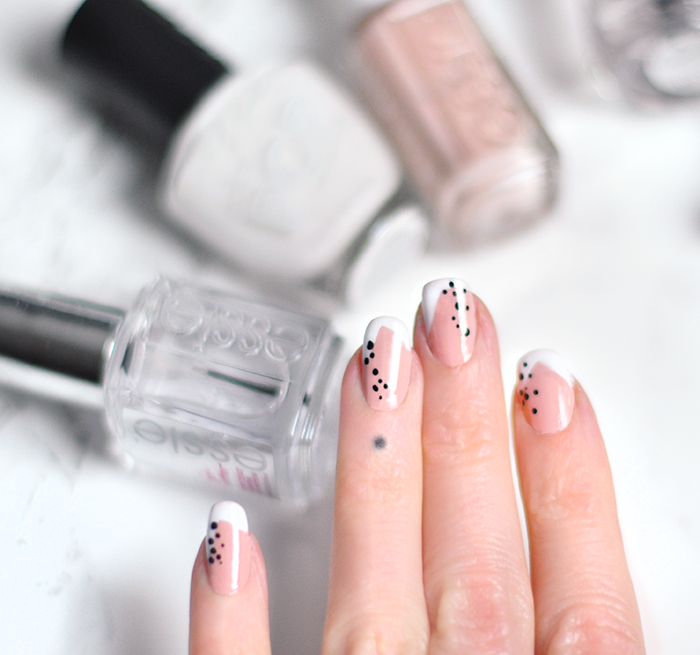
* EssieExpressie quick dry, 8 free & vegan formula in flesh tone, Crop Top & Roll … see all the colors in this post (also, I have to say I LOVE the brushes in the Expressie line, they’re long and wide and super easy to apply with!)
* White polish (old) by drugstore brand, LA Girls POP – a white nail art pen is probably a bit easier
* Essie Gel setter … I love this. It is not AS thick as the Seche Vite (which I love too) and keeps the polish looking good forever it seems!
* Fine nail art pen (mine are old from amazon)…or any black nail polish with a tiny tool (toothpick or fine brush) to dot on
* Seche Vite top coat
In the order I applied it on my nails for this tutorial, not in the order as seen in the photo.
Here’s How I Did It…
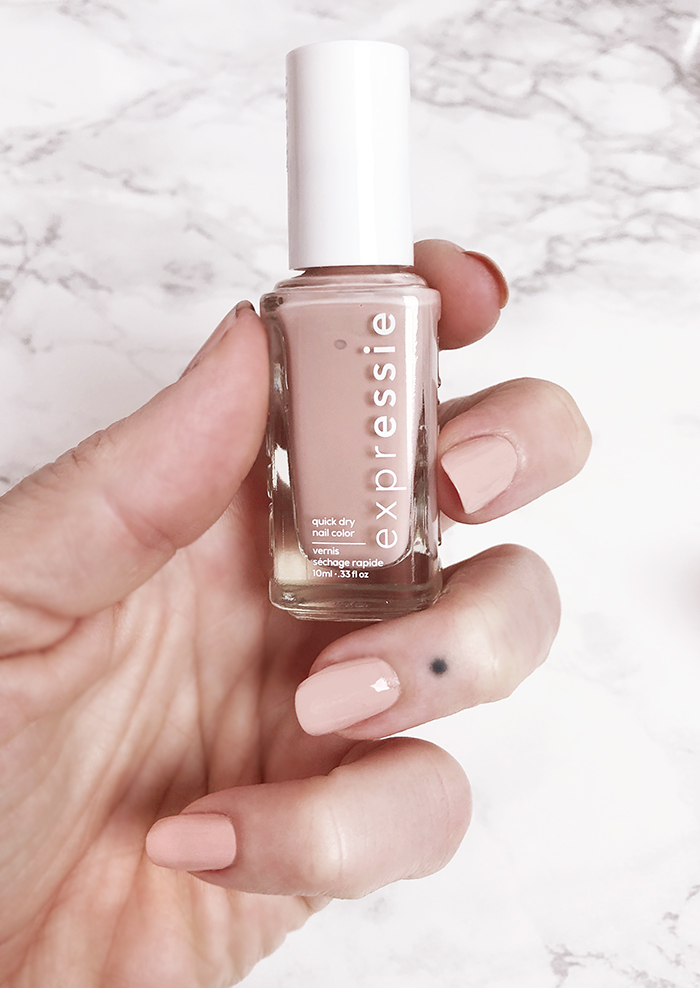
1. Apply two thin coats of quick dry flesh tone polish and let dry
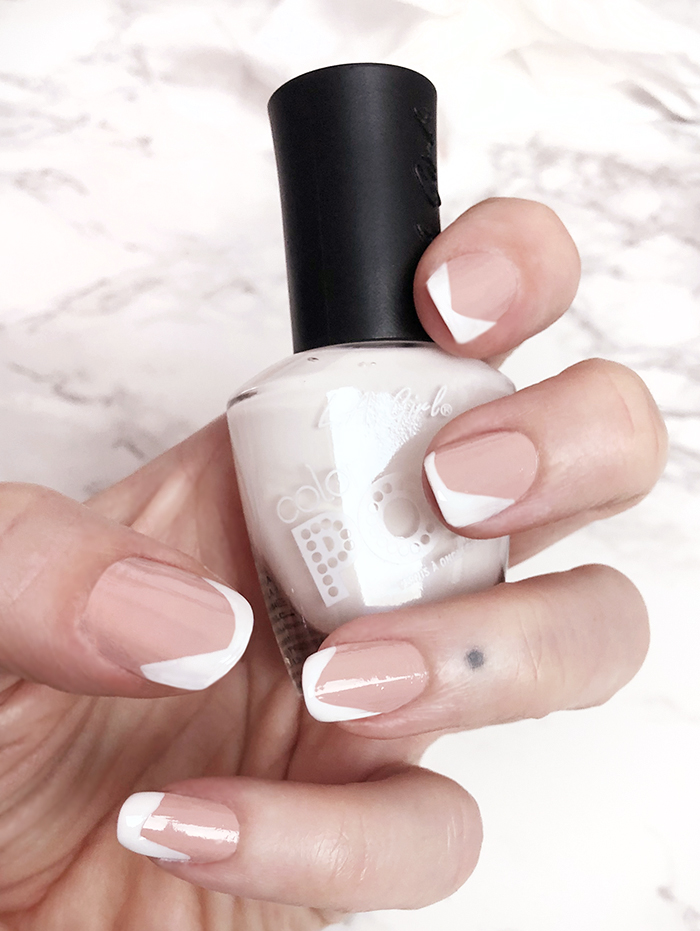
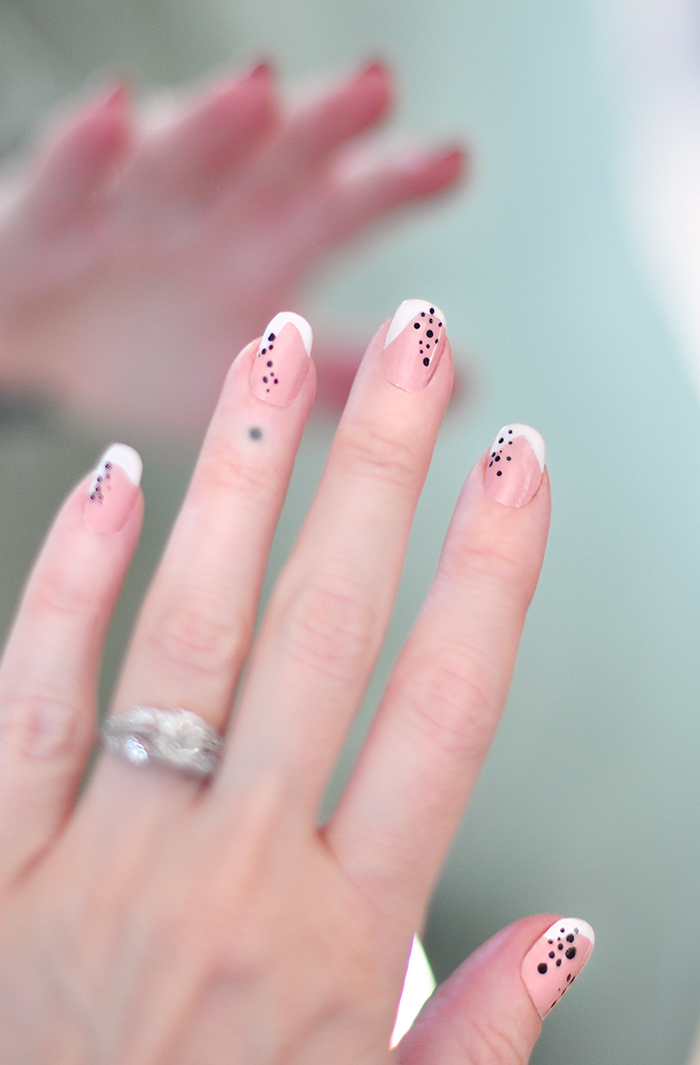
2. Apply your geo abstract french tip… make each one different, some with finer lines than others, some with more angled lines and continue down the sides a little. You might need two light coats of white if it’s transparent, but if you go on thick enough the first time, you should be good. Let dry
3. Swipe on one coat of Essie Gel Setter and let dry
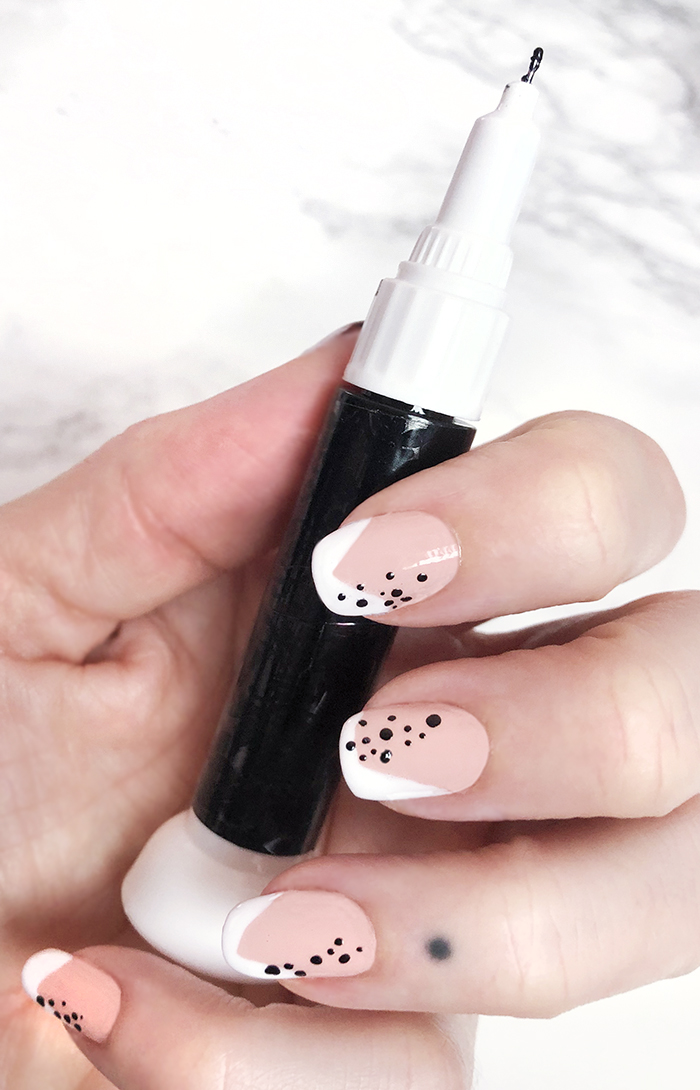
4. Tap on your DOTS! I applied mine slightly to the sides of my nails rather than the center and in little sections instead of all over and with various sized dots (and a few splotches where I messed up a little, but it’s not too noticeable IRL) … let dry.
5. Finish with a coat of Seche Vite.
Mine have lasted about a week now without chipping or peeling off! I think it’s the Essie gel setter and the seiche vite together, which sometimes all goes on SO THICK that they peel off in the shower, this has not been the case with this manicure. Maybe it’s the quick dry base?
And… Voila!

Have Fun!
* Find all my Nail Art Tutorials Here


0 Yorumlar